You can now effortlessly create an account with Ledger using Meteor Wallet, ensuring that your NEAR assets always remain fully safeguarded and accessible.
Follow our step-by-step guide to streamline your wallet setup as you dive into the future of privacy-preserving digital asset management.
Before You Begin
Update your Ledger wallet to the latest firmware version. Verify that your Ledger device is operational.
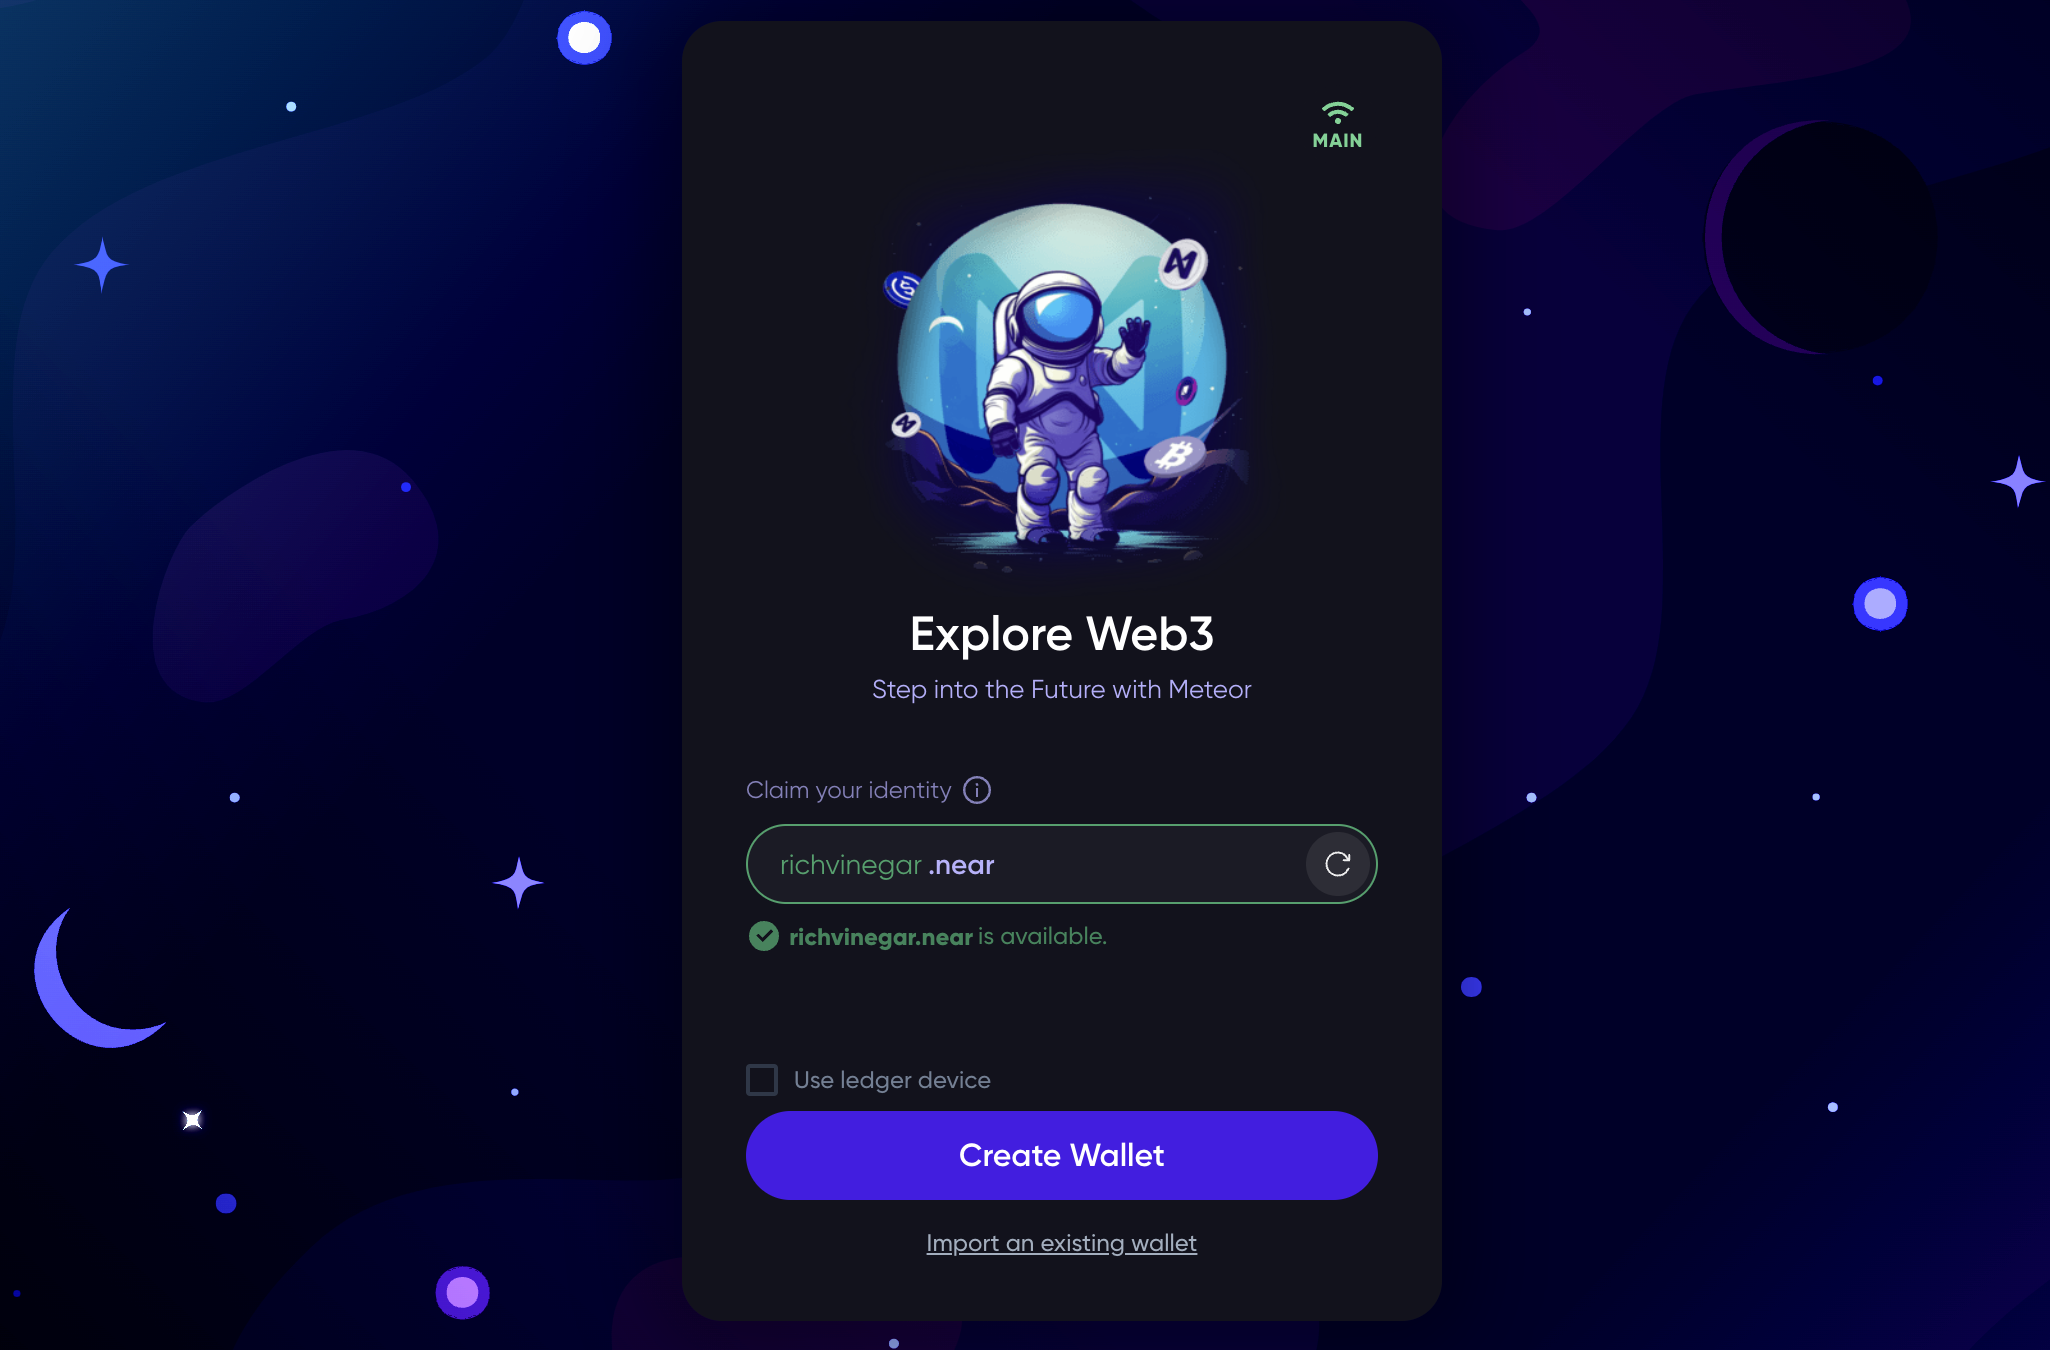
Step 1: Initiate Wallet Creation
Access Meteor Wallet at wallet.meteorwallet.app
Think of a creative new '.near' wallet identity
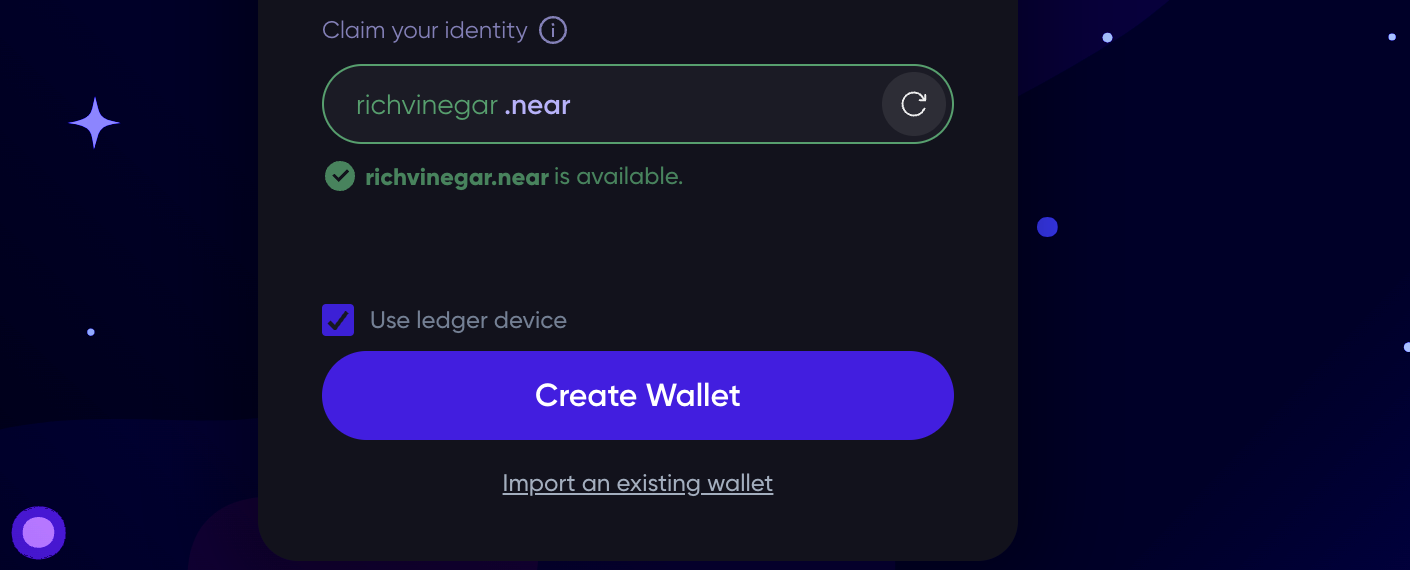
Step 2: Select 'Use Ledger Device'
Tick the checkbox 'Use Ledger device’ for enhanced security
Select the 'Create Wallet’ option
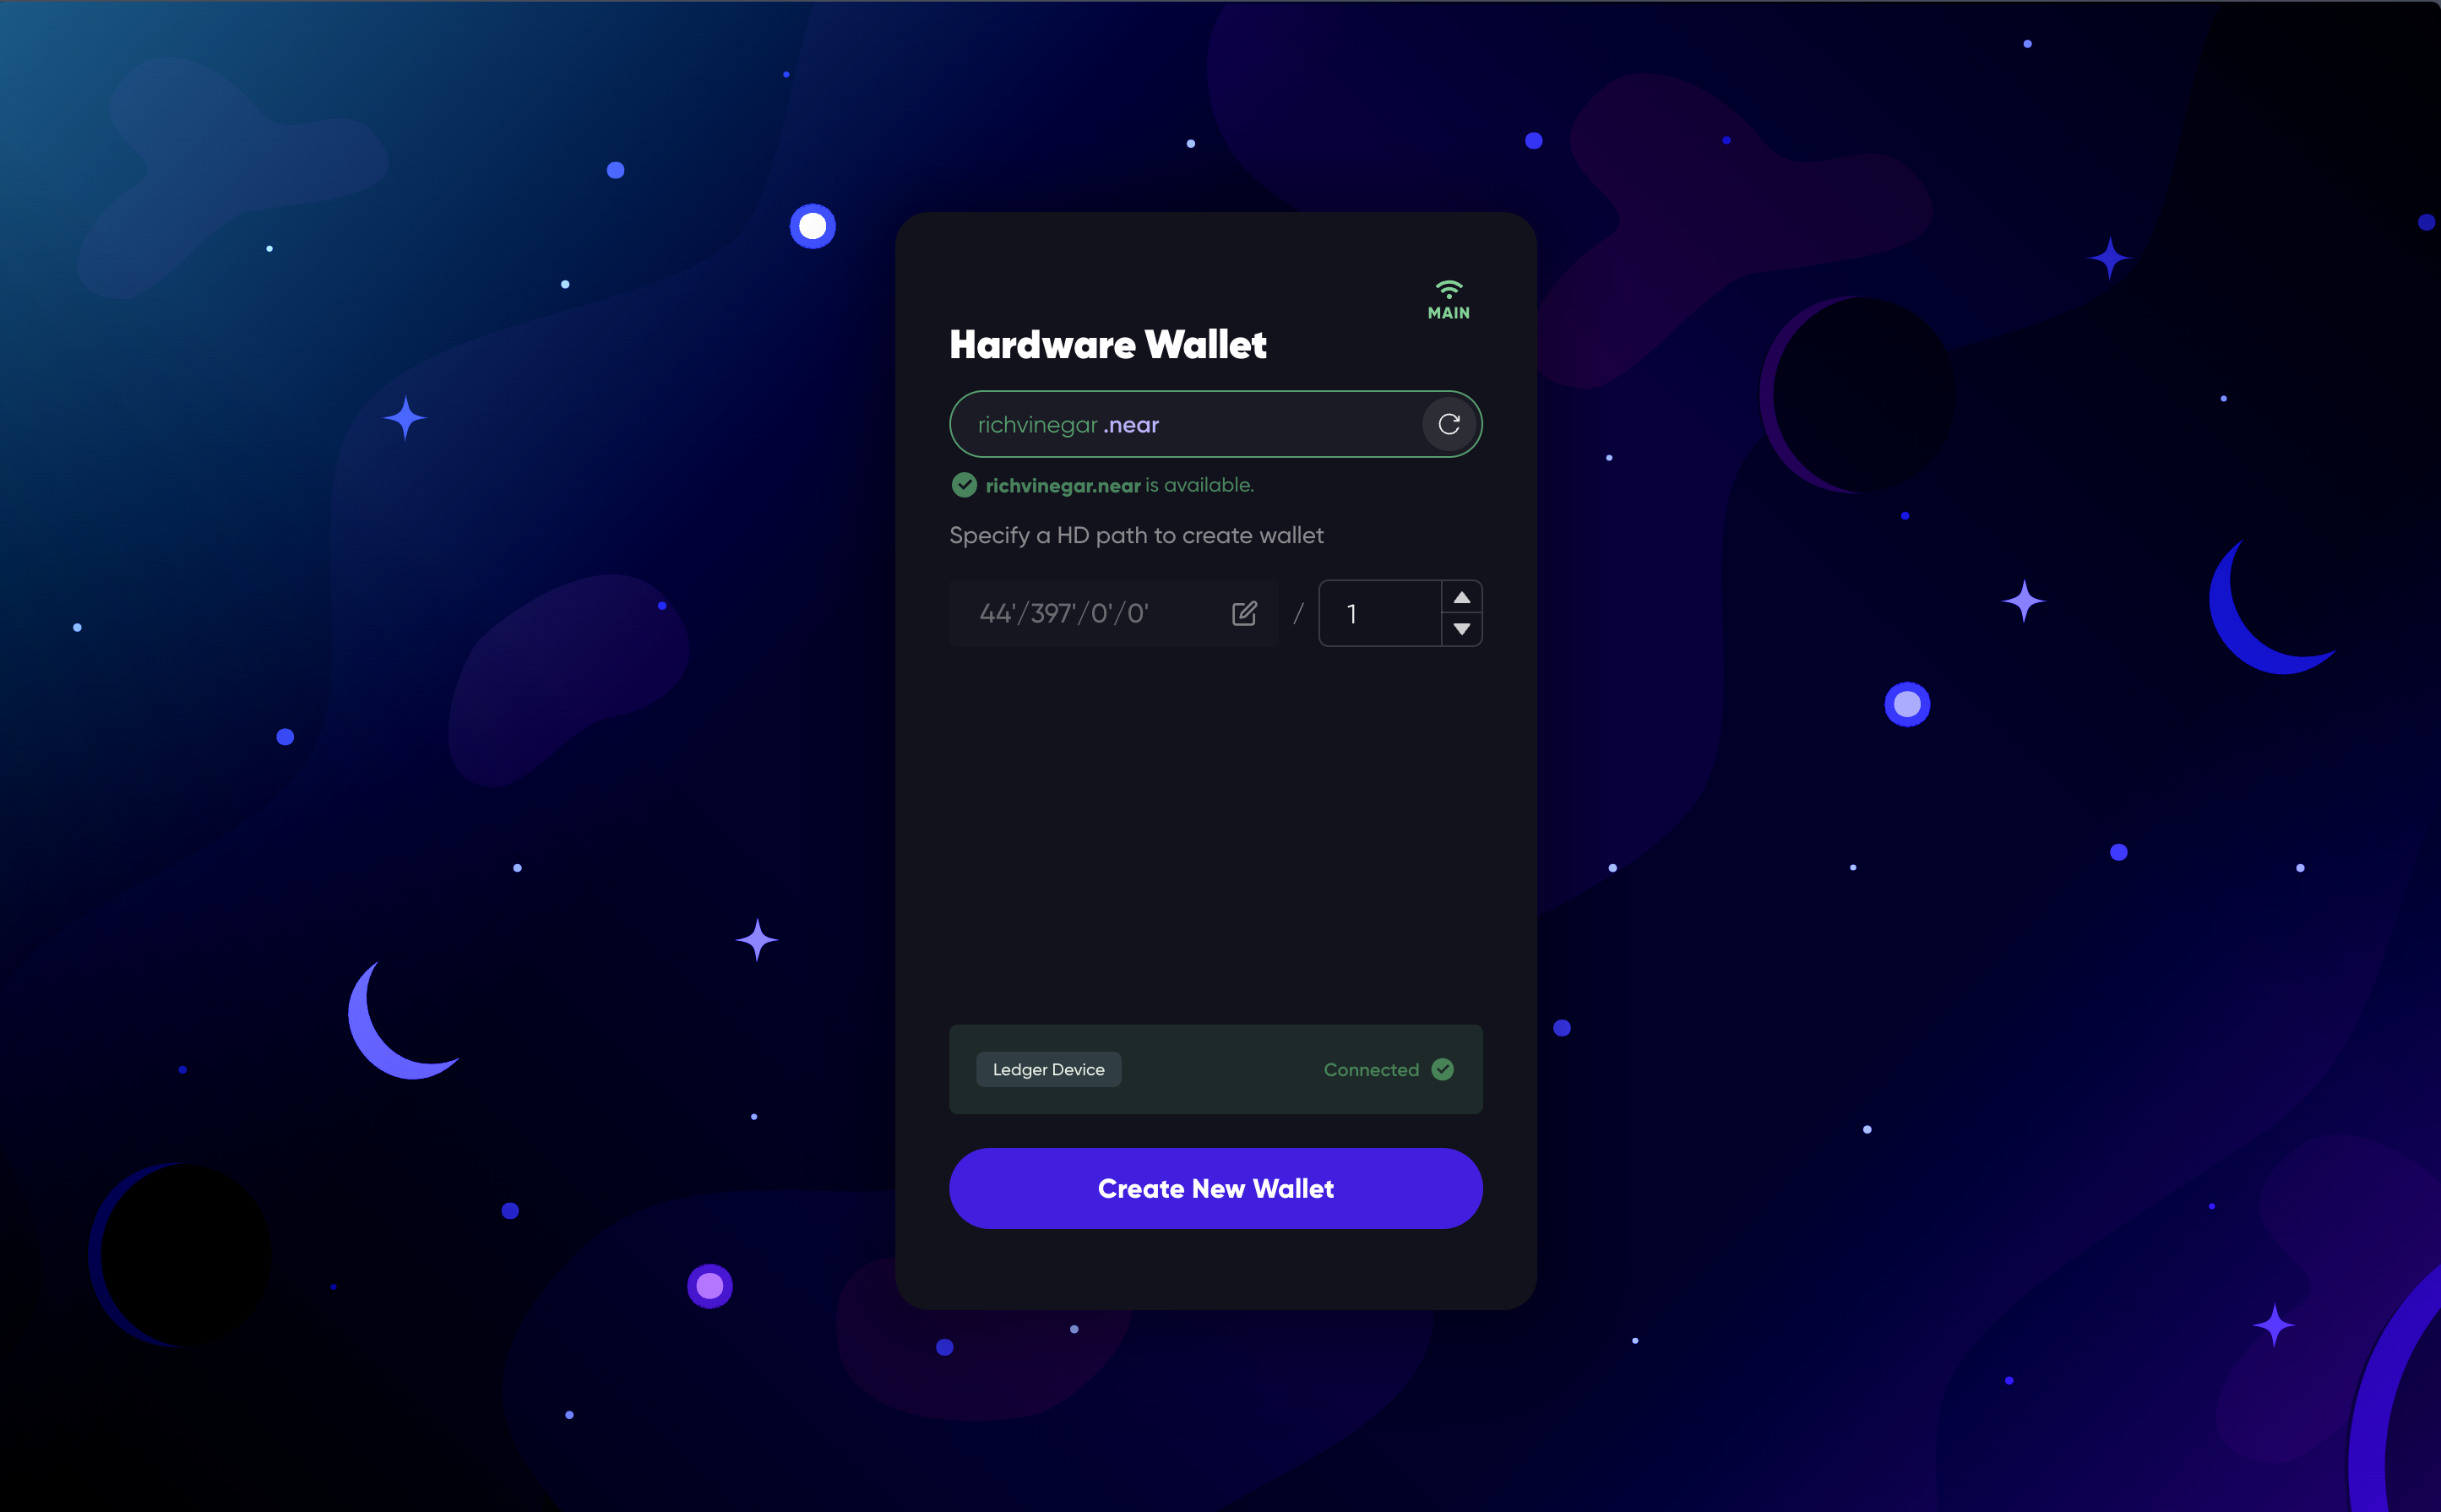
Step 3: Ensure Ledger Device Connection is Secure
Connect Ledger to your device
Open NEAR app on your Ledger device to connect
Confirm the connection and ensure your Ledger device is recognised
Verify HD path (the default path will be '/1')
Step 4: Finalise Wallet Setup
Select 'Create New Wallet' and deposit NEAR to finalise the wallet creation process
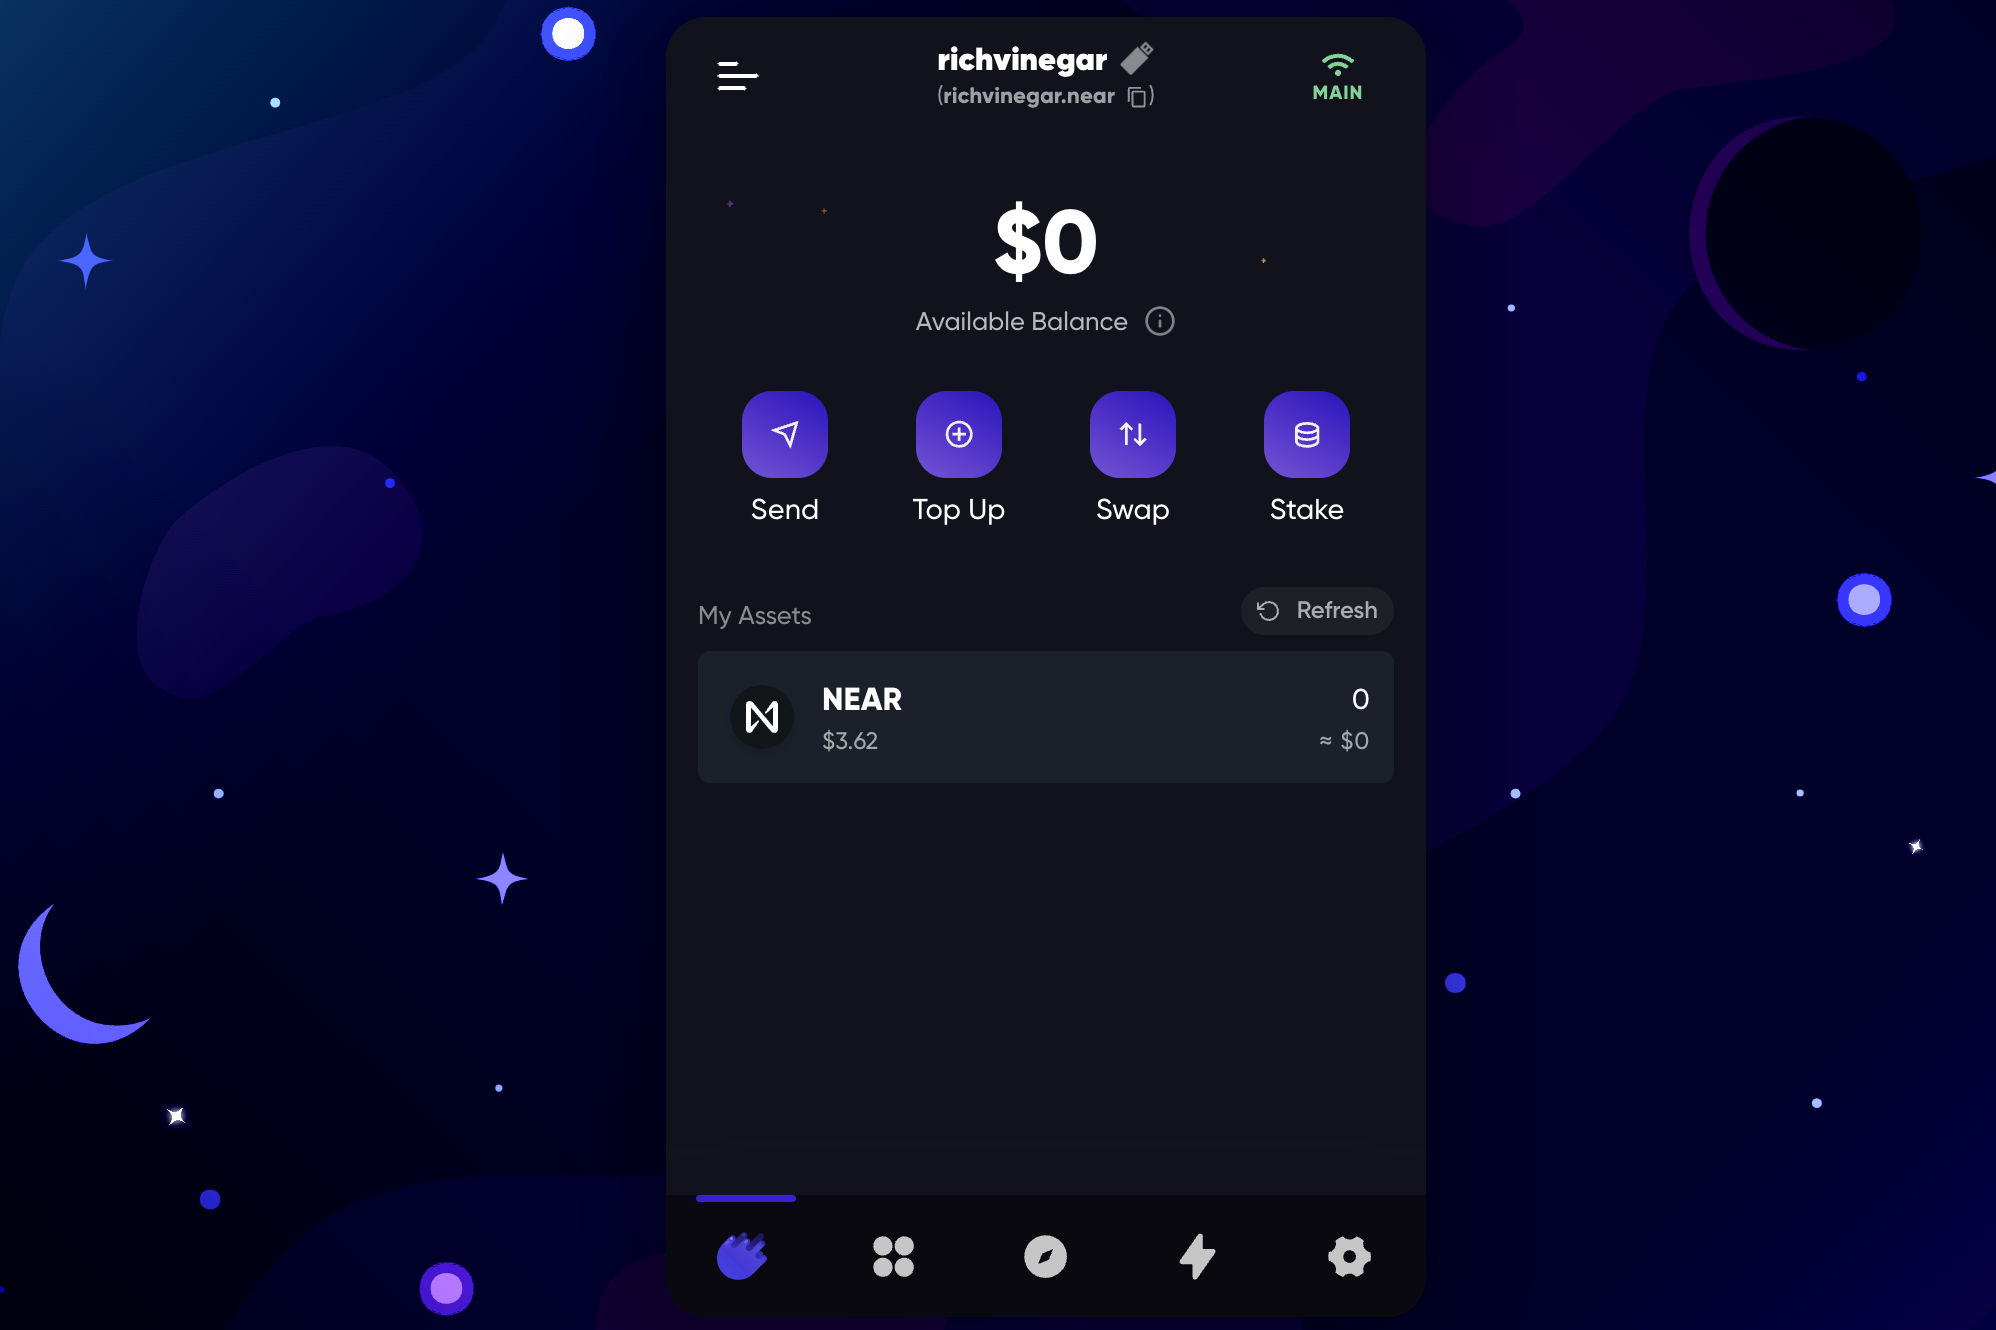
Completion and Next Steps
You'll need to authorise actions on your hardware wallet, typically twice. Be aware of the nominal gas fee that comes with signing any transactions.
Support
If you encounter any issues during the import process, please consult the help tab within Meteor Wallet or reach out to Meteor Wallet support for further assistance.