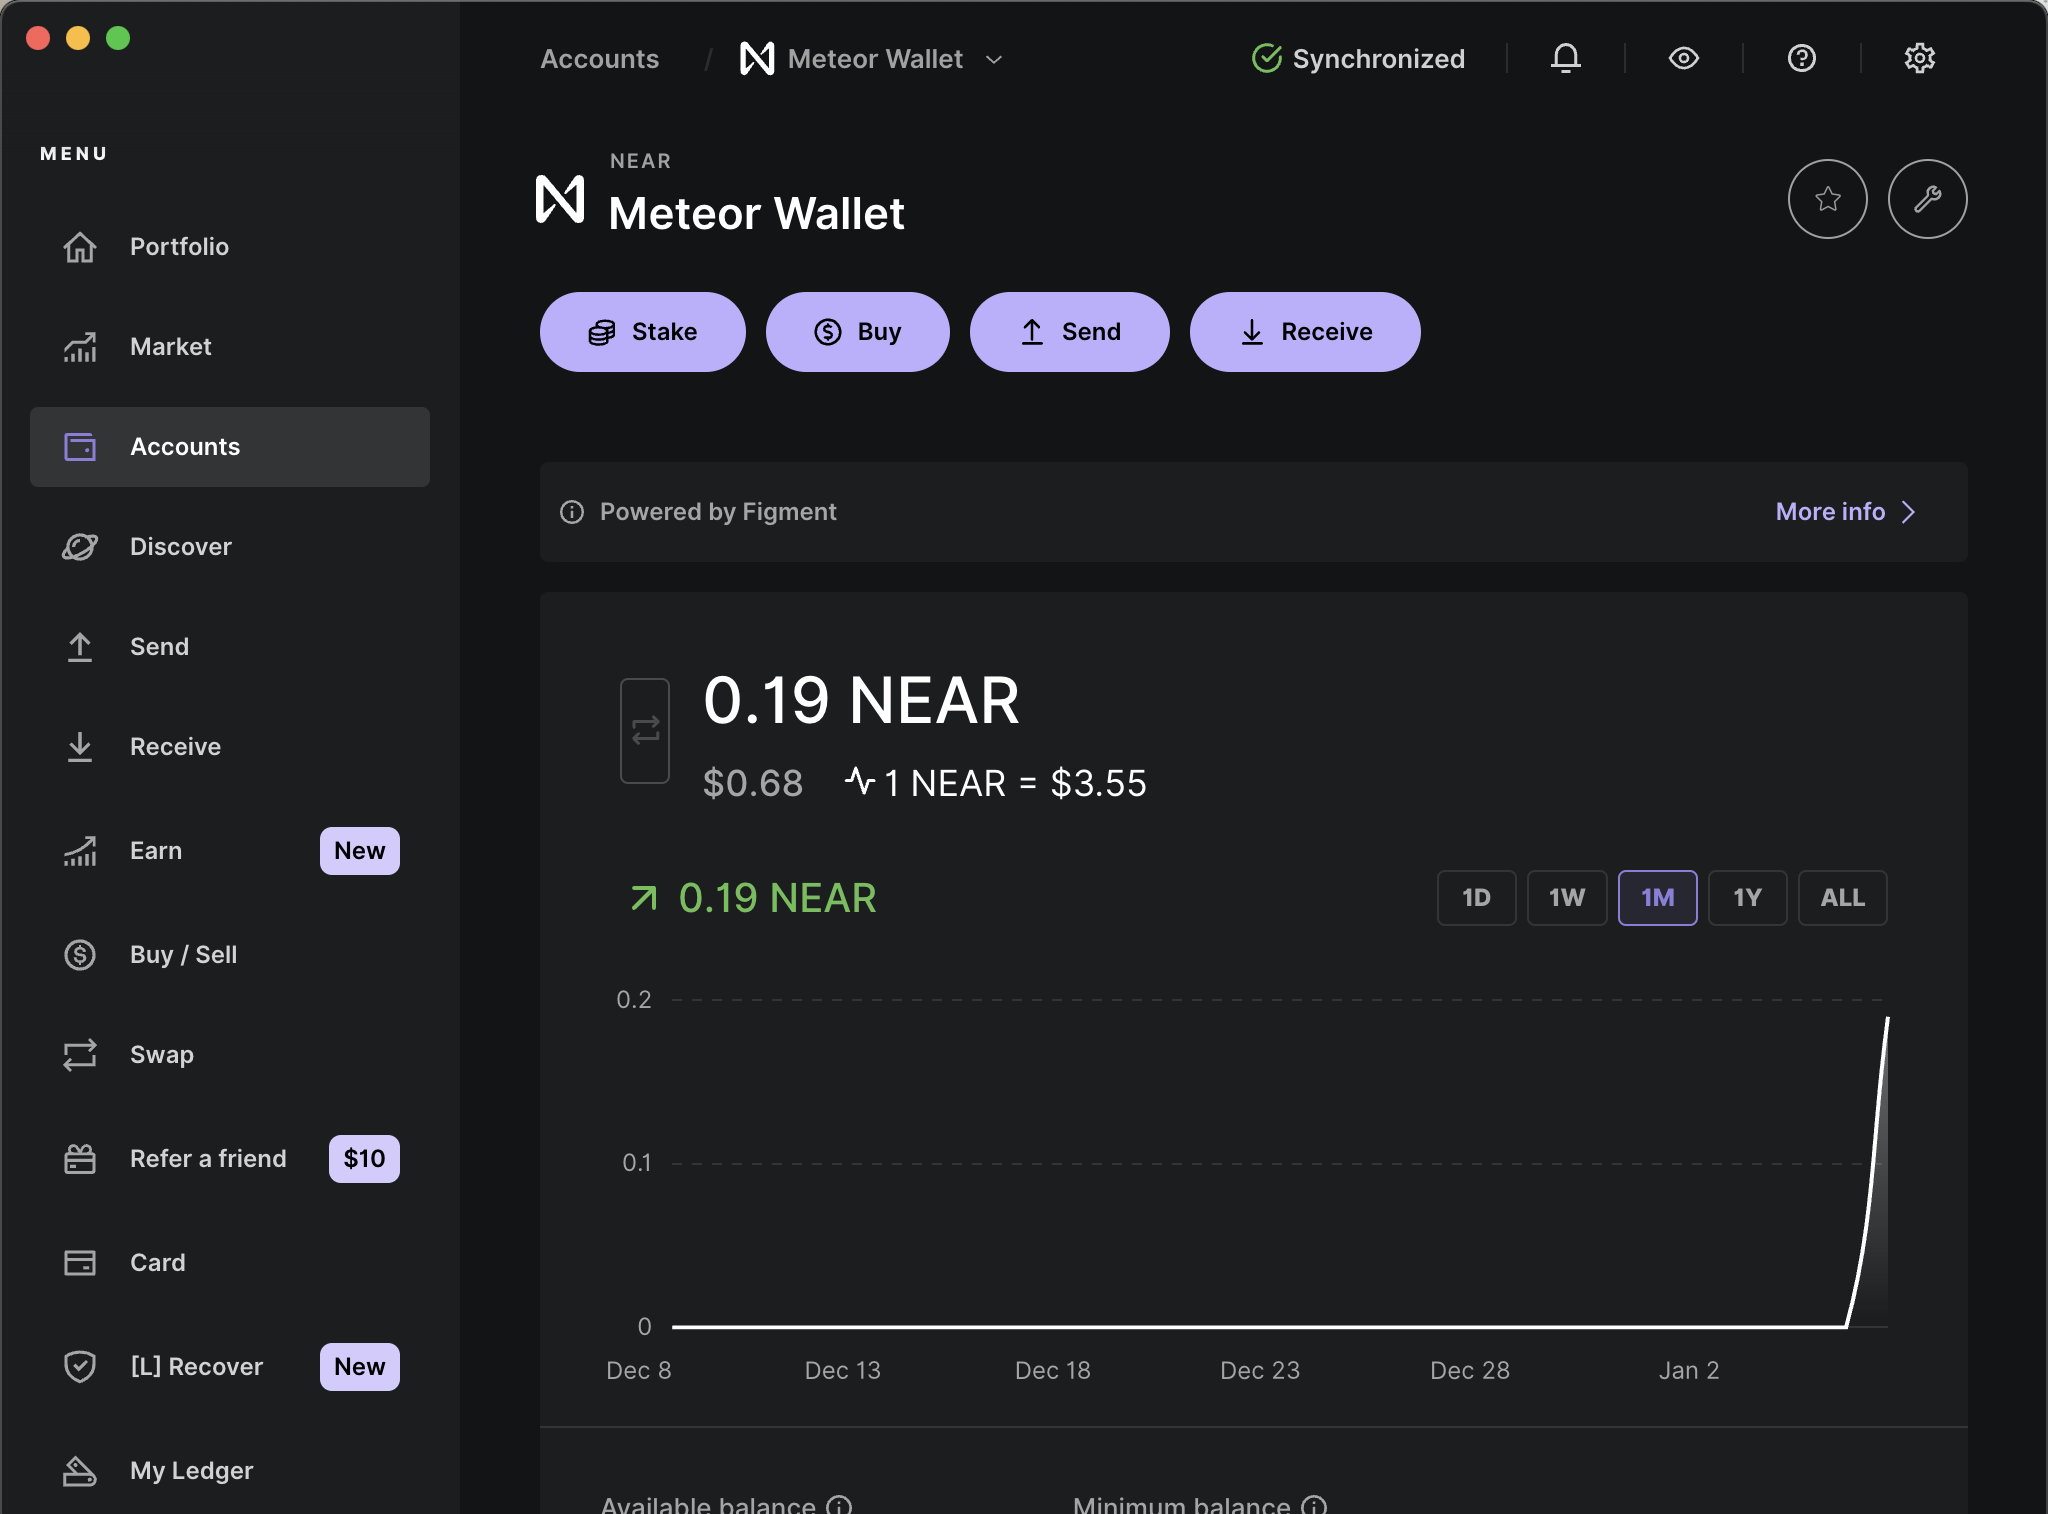
You can now effortlessly import your account from Ledger Live, ensuring that your NEAR assets always remain fully safeguarded and accessible.
Follow our step-by-step guide to streamline your wallet setup as you dive into the future of privacy-preserving digital asset management.
Before you start
Ensure your Ledger device is updated to the latest firmware and Ledger Live is running the most recent version. Make certain that the account you wish to import is a NEAR account.

Step 1: Select Your NEAR Account
Navigate to the 'Accounts' tab in Ledger Live.
Identify and select the NEAR account you wish to import.

Step 2: Locate Your Fresh Address Path
Click the ‘Edit Account’ icon located in the top right corner of Ledger Live.
In the pop-up dialog, select 'Advanced'.
Find the entry labelled 'freshAddressPath'.
Confirm that the path starts with 44'/397'/0'/0'. The last digit may vary depending on the account.

Step 3: Initiate Account Import in Meteor Wallet
Open Meteor Wallet at wallet.meteorwallet.app
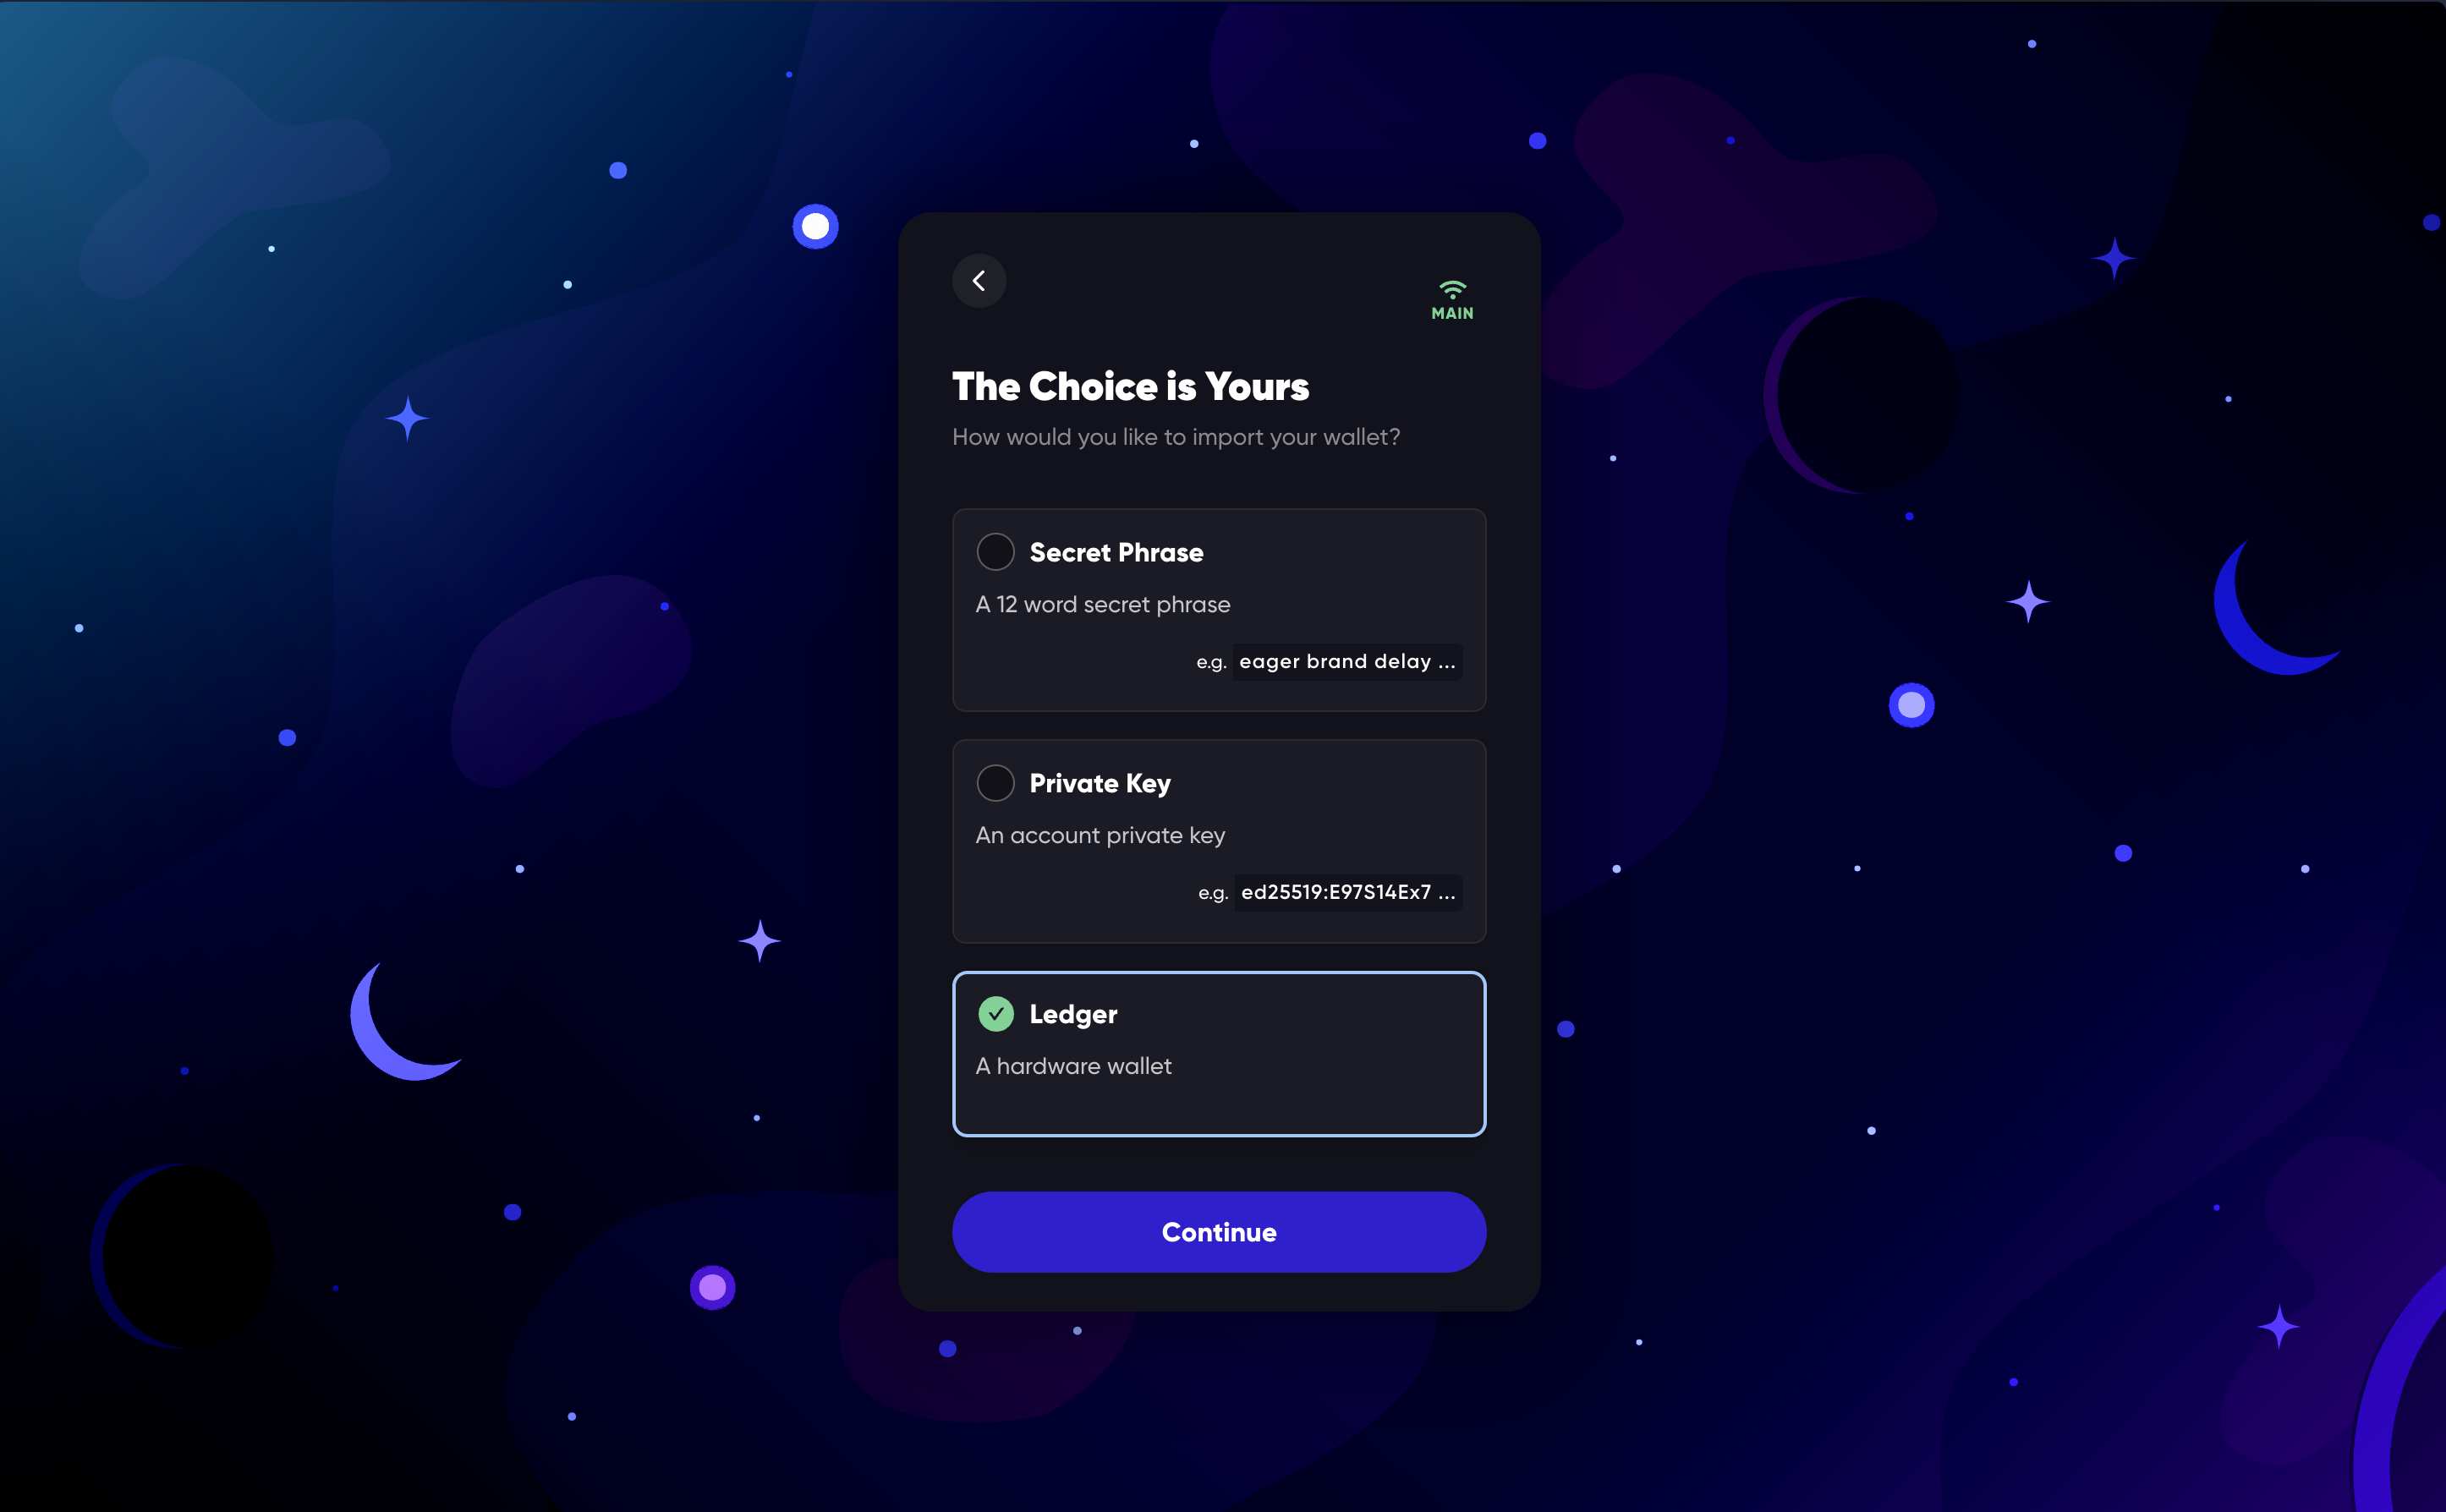
Select 'Sign in with Ledger'.
Note: Do not choose 'Create Account'. You must use 'Import Account' to proceed.
Step 4: Connect Your Ledger
Connect your Ledger device via the USB port.

Step 5: Set Your HD Path
Enter the HD Path you noted from Step 2 into the appropriate field.
Click 'Set HD Path'.
Click 'Authorise' to proceed with the import.
Confirmation and Fees
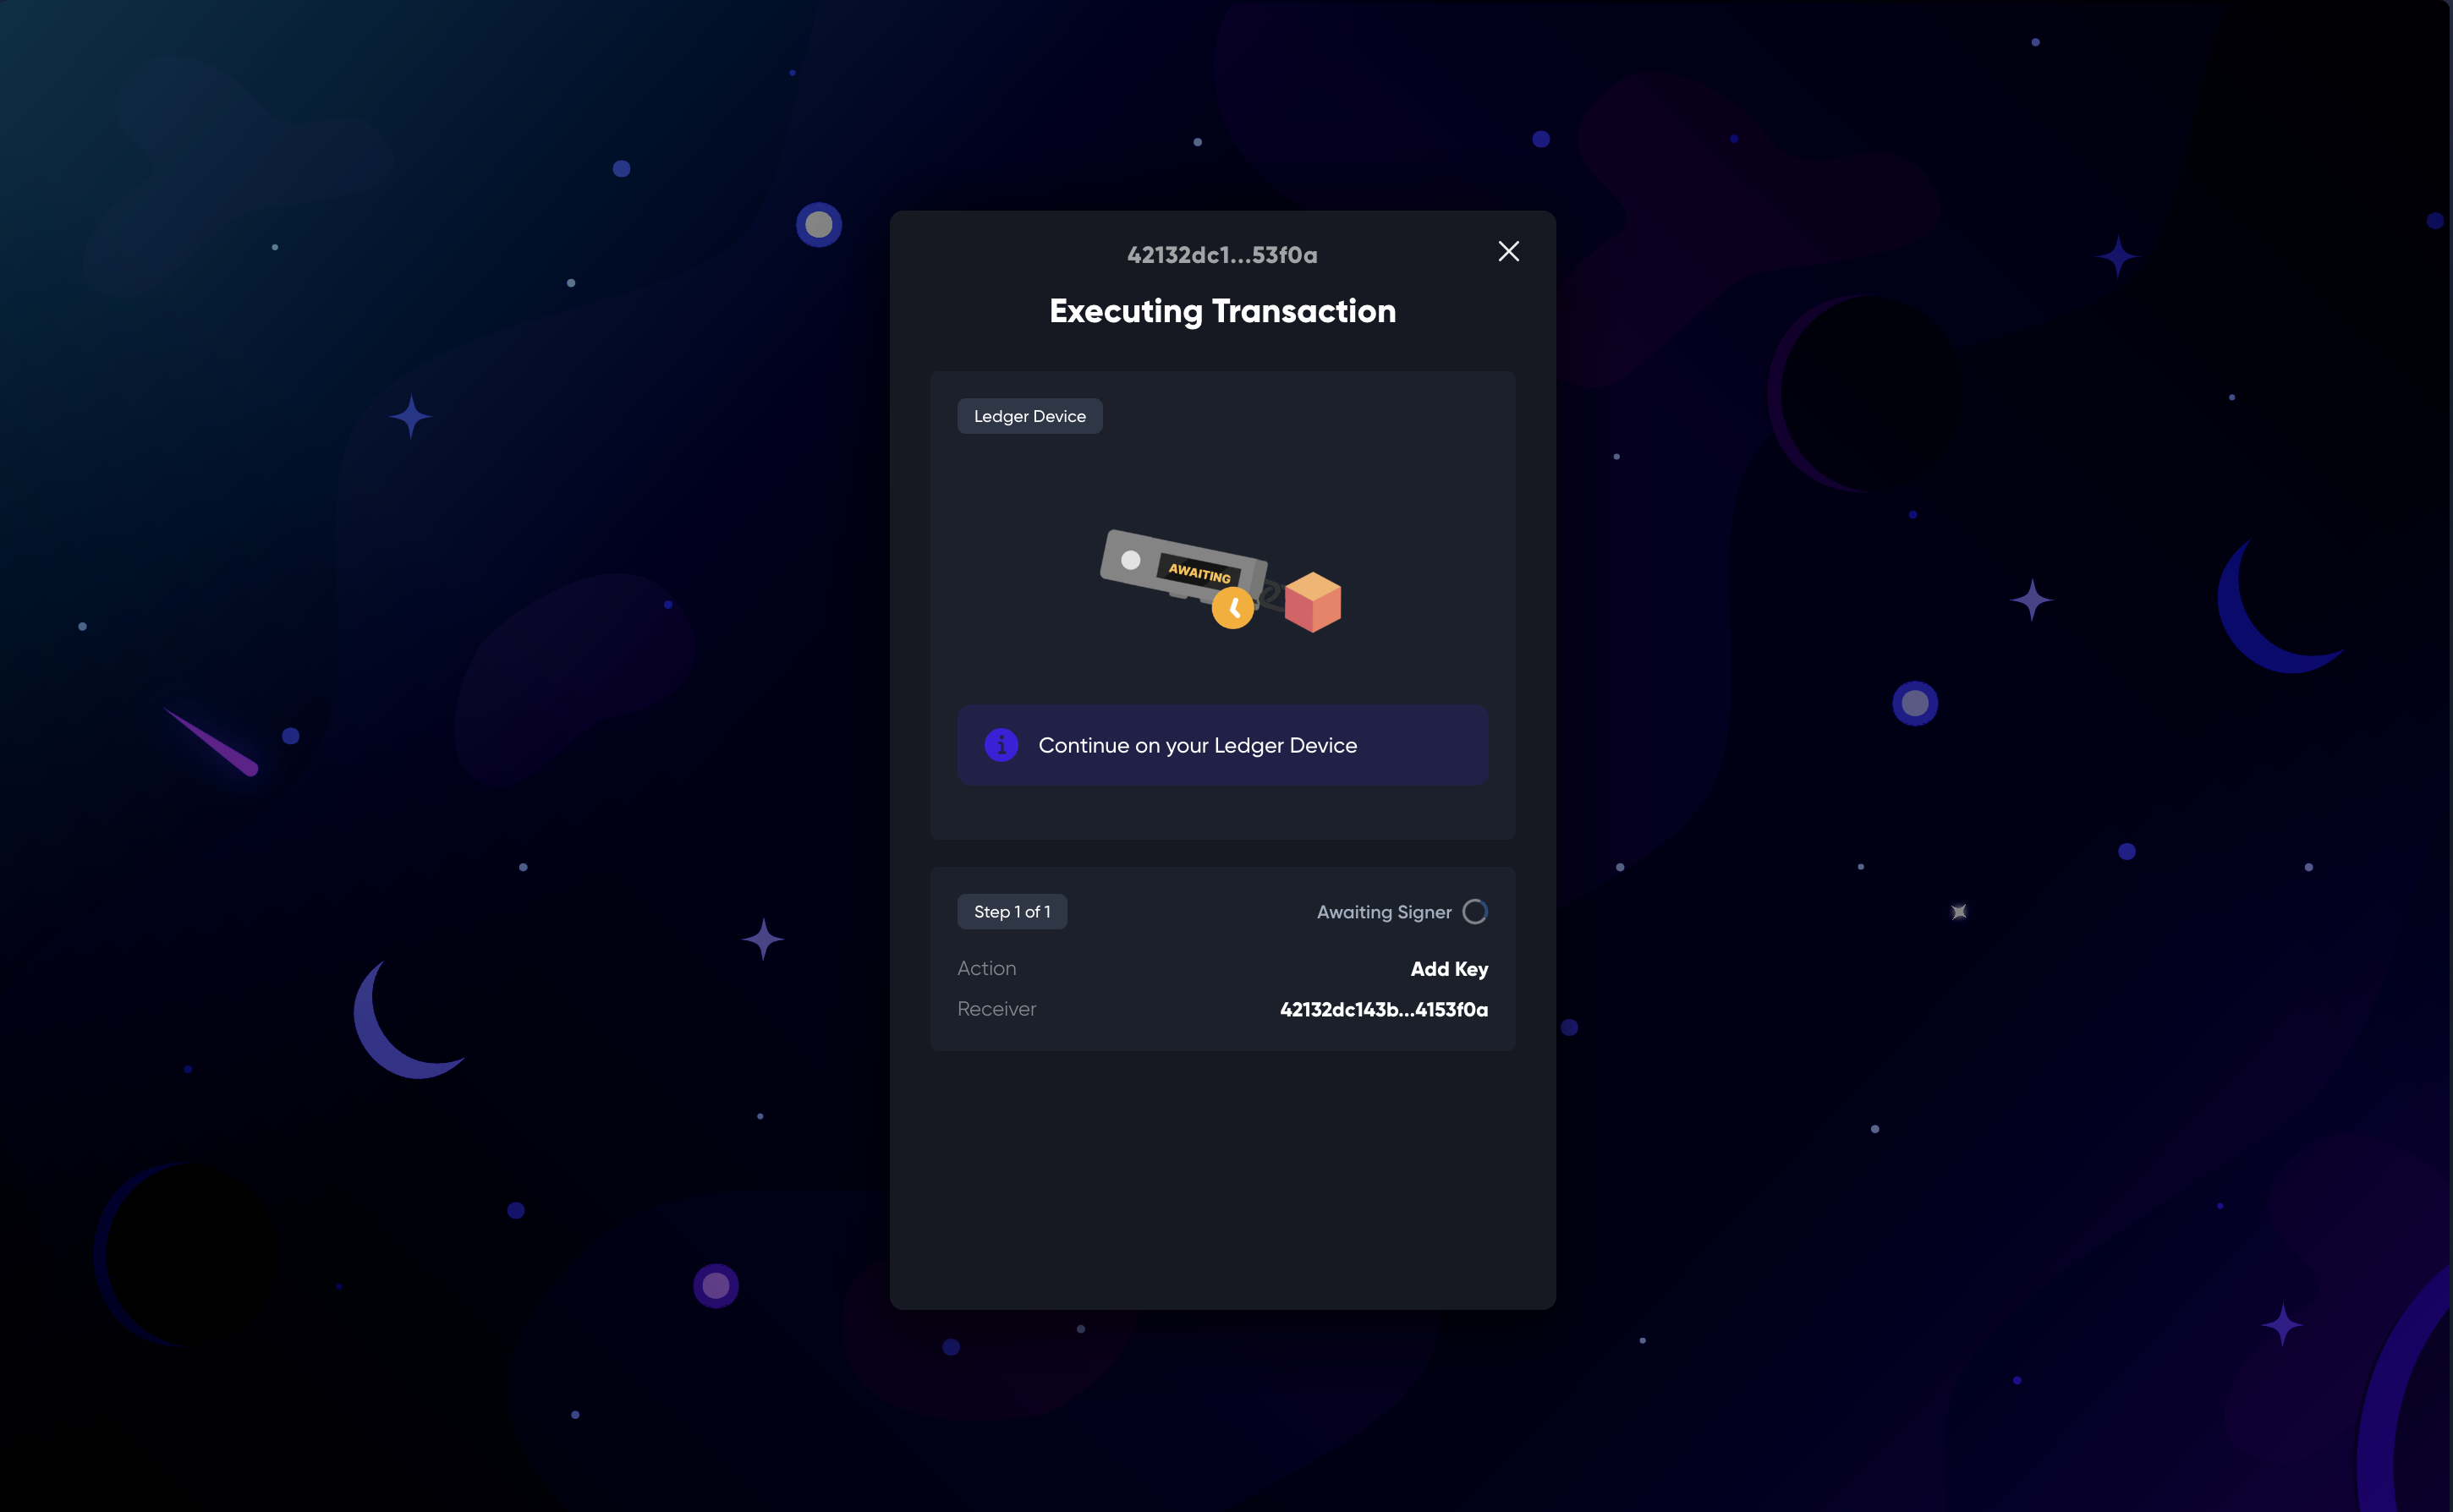
During the import process, you will be prompted to confirm the action twice on your Ledger device:
To allow the application to read the public key.
To create a functional access key.
Please note that executing this transaction will incur a nominal gas fee.
Support
If you encounter any issues during the import process, please consult the help tab within Meteor Wallet or reach out to Meteor Wallet support for further assistance.